Cognex Vision Pro Adapter
The eGrabber adapter for Cognex VisionPro is a library that allows to use Euresys frame grabbers based on eGrabber driver in Cognex VisionPro.
Coaxlink, Grablink Duo and Gigelink are supported.

Cognex Vision Pro welcome screen
Once the eGrabber adapter for Cognex VisionPro is installed, it gets loaded at start-up and runs a discovery for each GenTL producer in the following order:
| 1. | grablink.cti |
| 2. | coaxlink.cti |
| 3. | gigelink.cti (only if a valid license is active) |
If a frame grabber is found, it is listed in the list of frame grabbers (Camera subsection, prefixed by Device:)
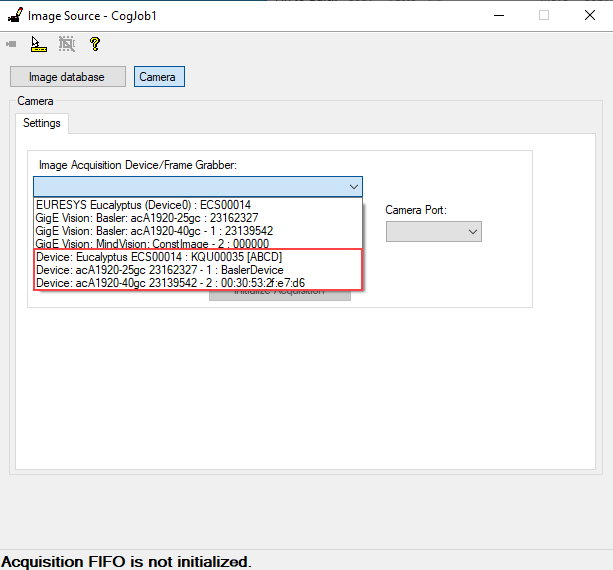
List of frame grabbers - Camera sub-section
In the image, there were three frame grabbers found: one Coaxlink Quad (KQU00035) connected to an Eucalyptus simulator, and two Gigelink cameras found in the network.
| ● | The other listed devices (not prefixed by Device:) are discovered internally by itself, and do not use . |
| ● | The Device: prefix is added by and there could be more devices listed, which were loaded from another adapter. |
To use a device, the user should select it and then click on Initialize Acquisition. This initializes the eGrabber object and allows the user to acquire images and use it in .
If the user clicks on the Camera icon in the top left corner, they can see the acquired images in live:
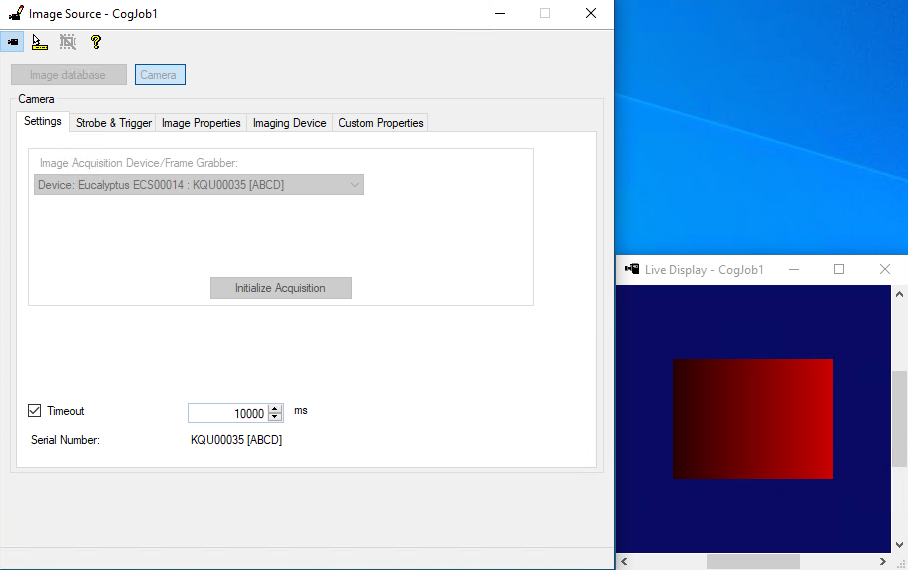
Live acquired image
Once the device is initialized, a set of tabs is displayed.
The Strobe & Trigger pane is not used by .
| NOTE: | This type of configuration has to be done through scripts. |
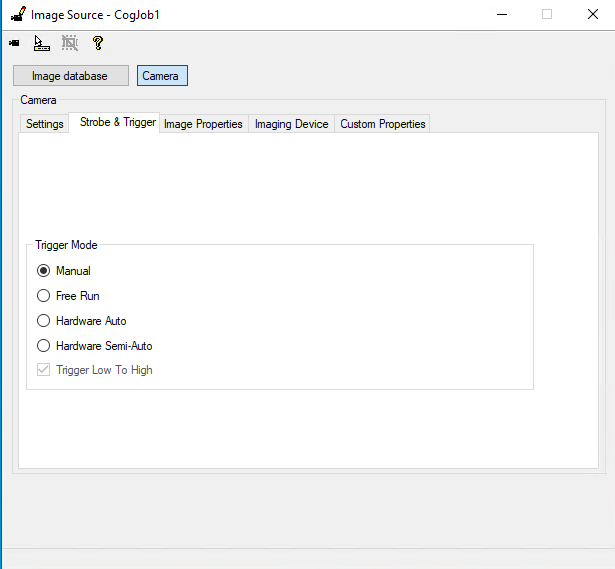
Strobe and Trigger pane
The Image Properties pane allows to configure the output format of the image to be used after the acquisition in . In this pane, only the image Width and Height can be configured. It is also possible to choose the Output pixel format. Both the change of the pixel format value and the resizing of the acquired image is done by the software, with no interaction from the frame grabber. The Origin X and Origin Y parameters are not supported and should not be used.
| NOTE: | The control the ROI has to be done through scripts. |
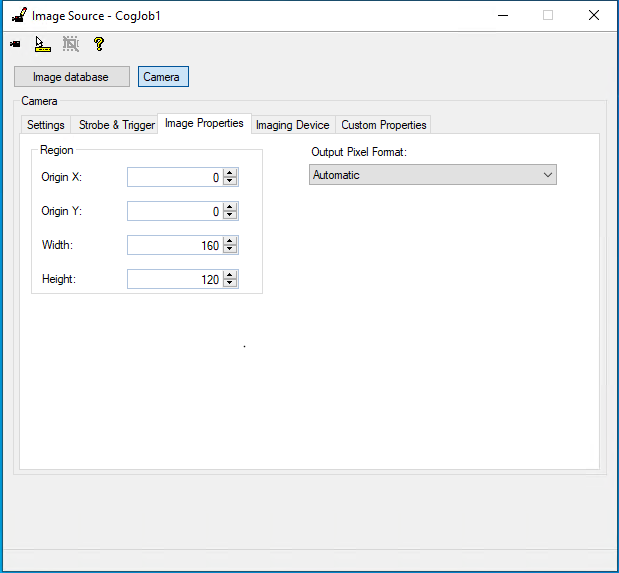
Image Properties pane
The Imaging Device pane allows to retrieve and configure Features. These Features can also be seen and configured in the Custom Features pane (read below for the list of available features). The user can write the desired feature and then click Read to obtain its value, or click on Write to change its value. The Execute button is not supported and should not be used, because there are not any executable feature.
In the following picture, BufferCount was typed by the user and then the Read button was clicked.

Imaging Device pane
The Custom Features pane allows to read and write values to Features. These features are not GenICam features, but some parameters used in the context of the adapter.
The list of available features can be seen by clicking the Add new button on this pane.
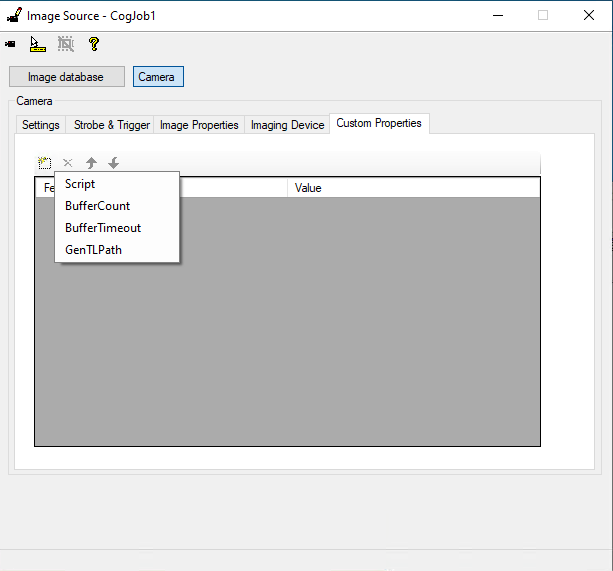
Custom Features pane
Script: path to an eGrabber Script (*.js) to be run by the grabber (calls EGrabber::runScript)
BufferCount: the number of buffers to use in the acquisition. Default: 4
BufferTimeout: the number of milliseconds to wait when popping a buffer. Parameter to EGrabber::pop. Default: 100ms
GenTLPath: Path of the GenTL library used when this device was loaded (coaxlink.cti, grablink.cti or gigelink.cti). This is a read-only feature that gets defined when the egrabber is loaded, depending on its producer. For example: C:\Program Files\Euresys\eGrabber\cti\x86_64\gigelink.cti
Once everything is configured, the user can then acquire one image and this image is to be used as input in the rest of the processing of .