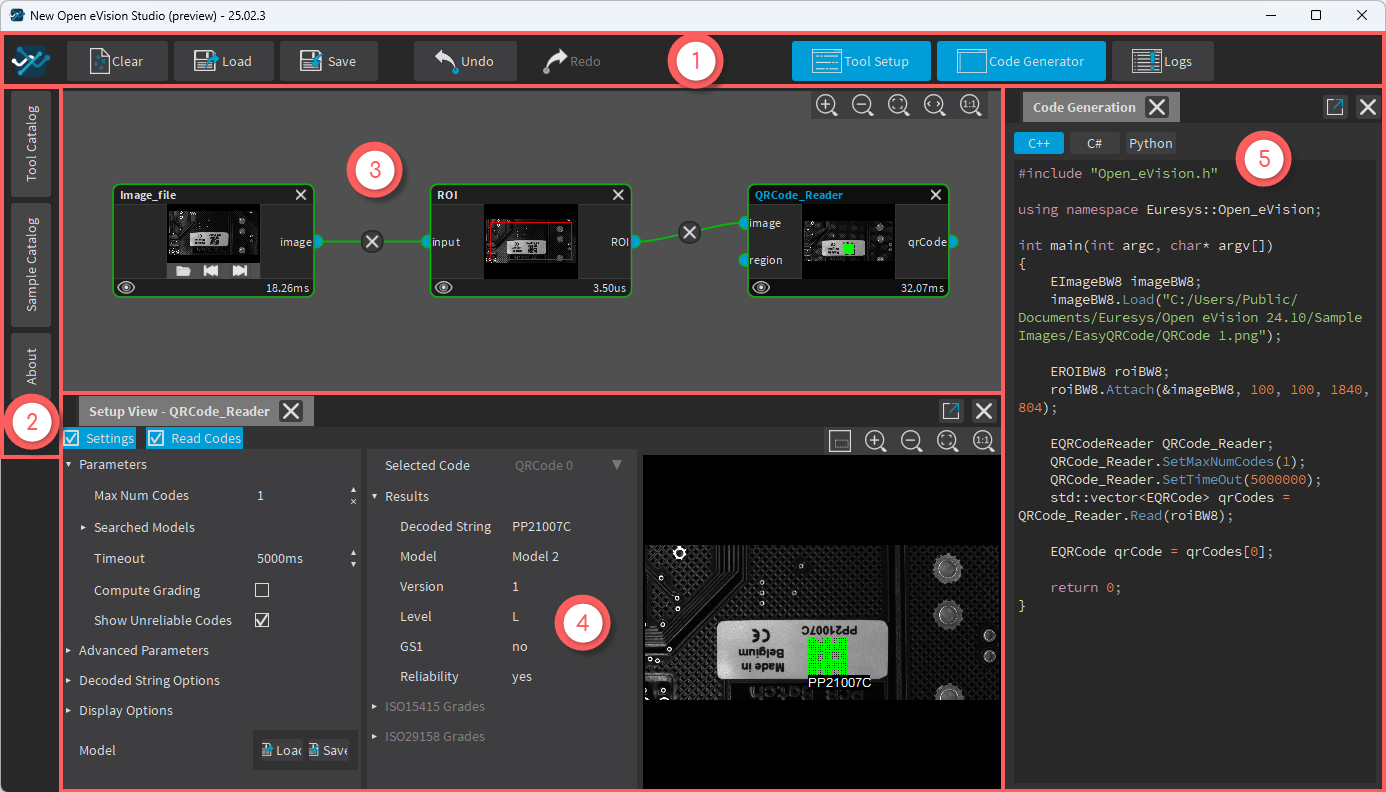
The Main Interface
The interface items
The new Open eVision Studio graphical user interface (GUI) is organized as follows:
|
1.
|
The main menu bar gives you access to: |
|
□
|
The project buttons: Clear, Load and Save. |
|
□
|
The Undo and Redo buttons. |
|
□
|
The additional pane buttons: Tool Setup, Code Generator and Logs (see below). |
|
2.
|
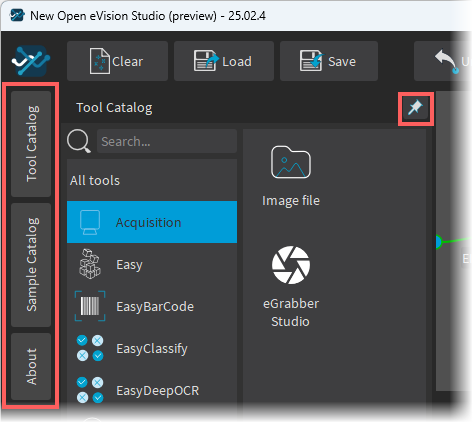
The left menu gives access to: |
|
3.
|
The work space with your graph. |
|
4.
|
The Setup View of the tool currently selected in the graph with, depending on the tool: |
|
□
|
A view of the tool result or output. |
|
5.
|
Additional panes such as the Code Generator, Logs and image panes of the tools... |
Organizing the interface
You can organize your interface by moving and/or locking several panes:
Left menu
|
●
|
Open a pane and click on the pin  in the top right corner to lock / unlock it. in the top right corner to lock / unlock it. |
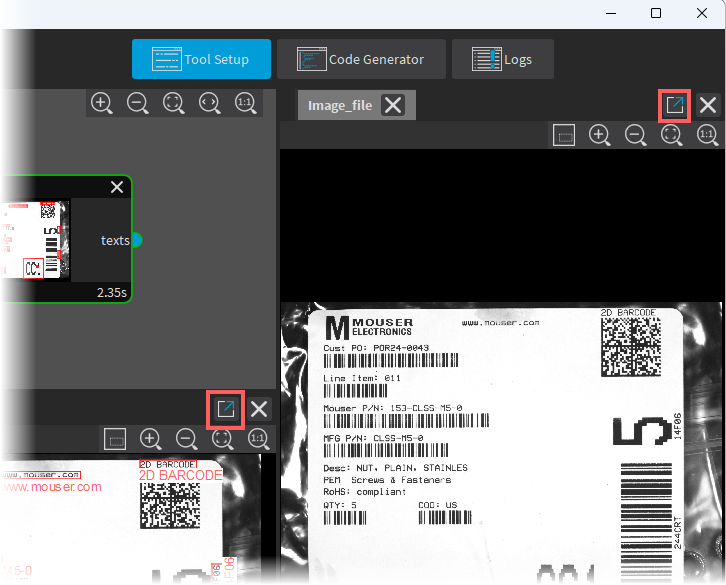
Additional panes
You can easily move and organize the additional panes in the main window or let them float on your screen(s):
|
●
|
To make a pane floating: |
|
□
|
Click on the pin  in the top right corner to detach the pane. in the top right corner to detach the pane. |
|
□
|
Move it anywhere on your screen(s). |
|
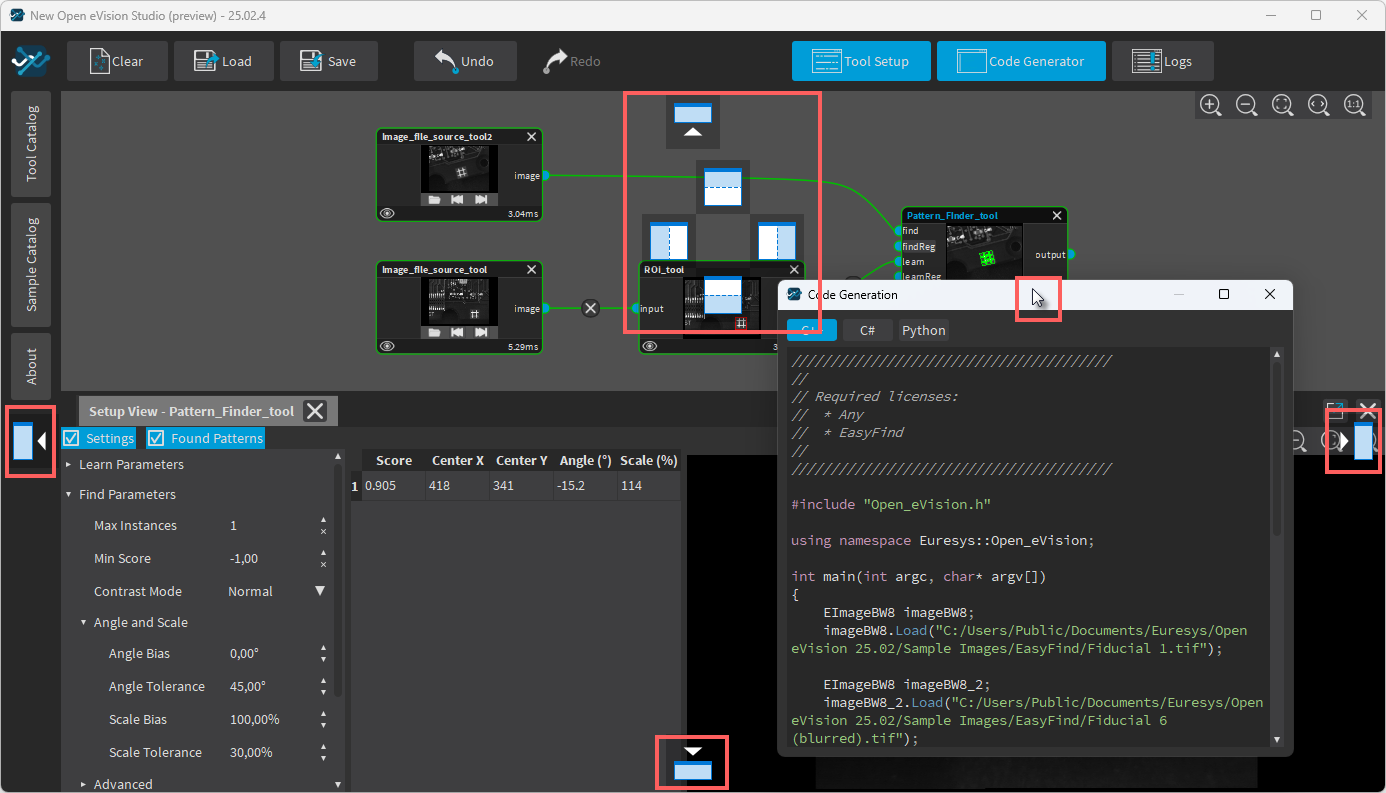
●
|
To dock again a floating pane: |
|
□
|
Click and drag it on one of the docking places. |