ROI and Mask
Setting a ROI
Use an ROI (region of interest) to crop an image or a whole dataset to a rectangular area aligned with the axis.
All the ground truth annotations (EasySegment Supervised or EasyLocate) located outside the region of interest are lost.
In the API
|
●
|
To define an ROI for an image: |
|
□
|
Specify the ROI when you add the image to the dataset. |
In Deep Learning Studio
|
a.
|
Select an image from the dataset. |
|
b.
|
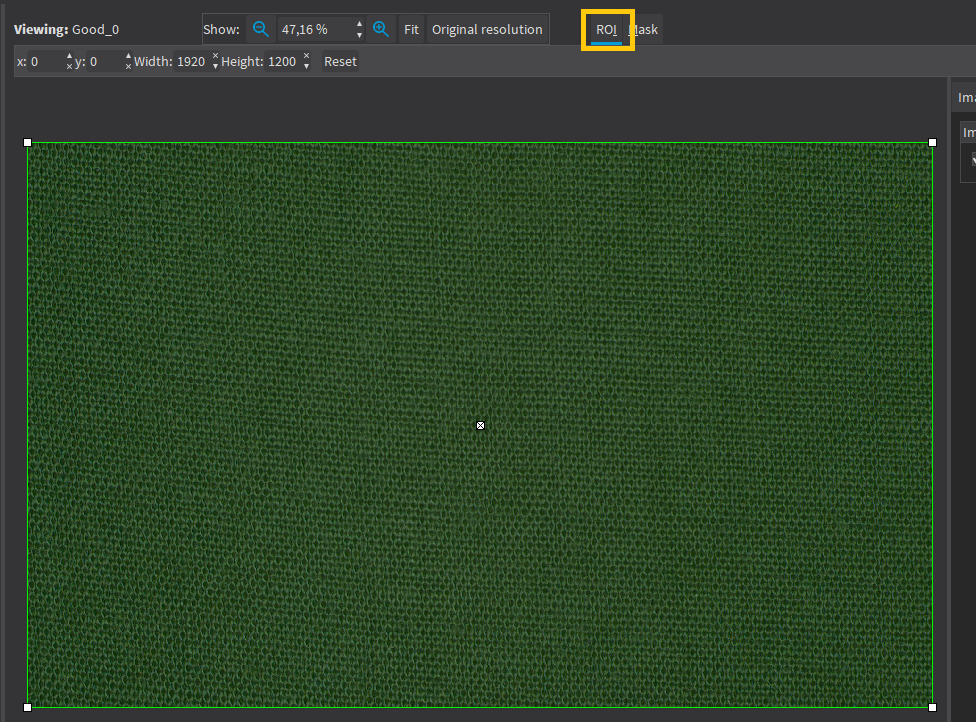
Click on the ROI button (ALT+I). |
|
c.
|
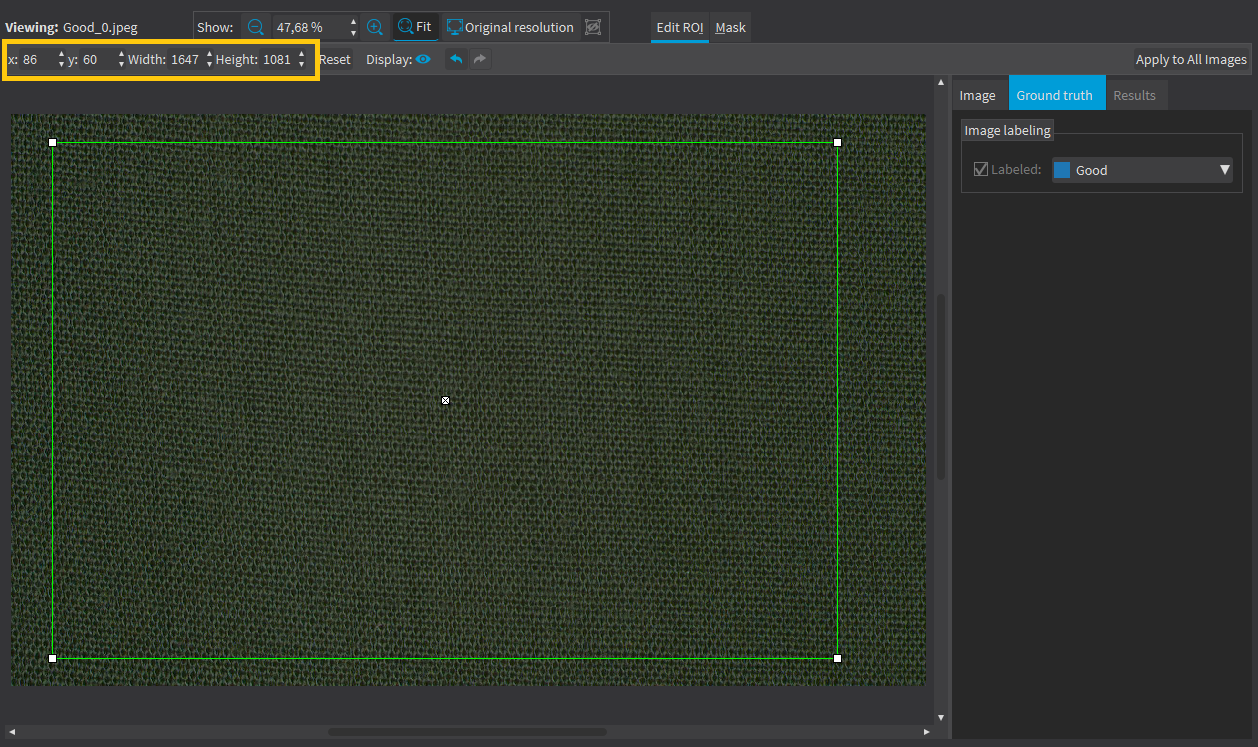
Drag the ROI green box, or directly set the ROI origin (x and y), Width and Height. |
|
●
|
To set the same ROI for all the images of the dataset: |
|
a.
|
Set the ROI for one of the image. |
|
b.
|
Click on the Apply to All Images button (CTRL+SHIFT+A). |

|
●
|
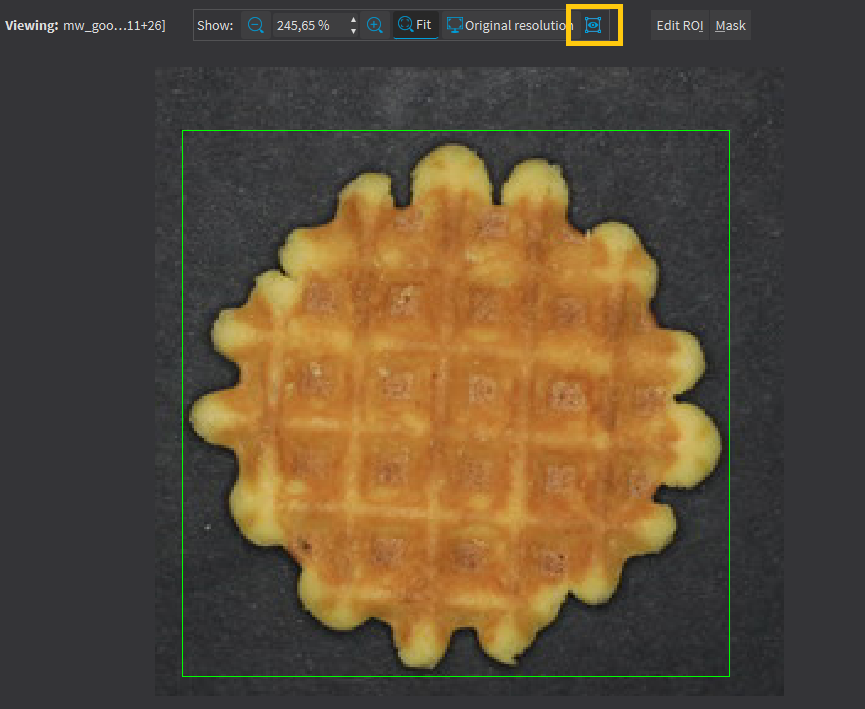
To visualize the ROI within its parent image: |
|
a.
|
Click on the  button. button. |
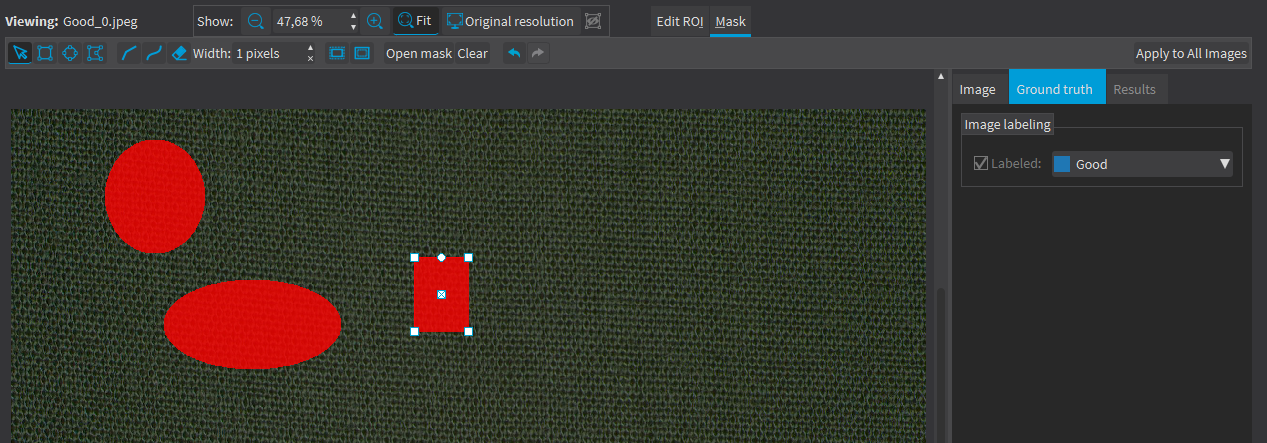
Setting a mask
Set a mask on an image in a dataset to remove the pixels in the mask area from any computation. The mask works as a “don’t care area”.
In the API
|
●
|
To define a mask for an image: |
|
□
|
Specify the mask when you add the image to the dataset. |
In Deep Learning Studio
|
a.
|
Select an image from the dataset. |
|
b.
|
Click on the Mask button (ALT+M). |

|
c.
|
Select a drawing tool to draw the mask. |

Click on the Open mask button to use an image to specify a mask. All the pixels of the image (such as an EROIBW8) that are over 127 are considered as part of the mask.
|
●
|
To set the same mask for all the images of the dataset: |
|
a.
|
Specify the mask for one of the images. |
|
b.
|
Click on the Apply to All Images button (CTRL+SHIFT+A). |
