Acquire a Depth Map
|
1.
|
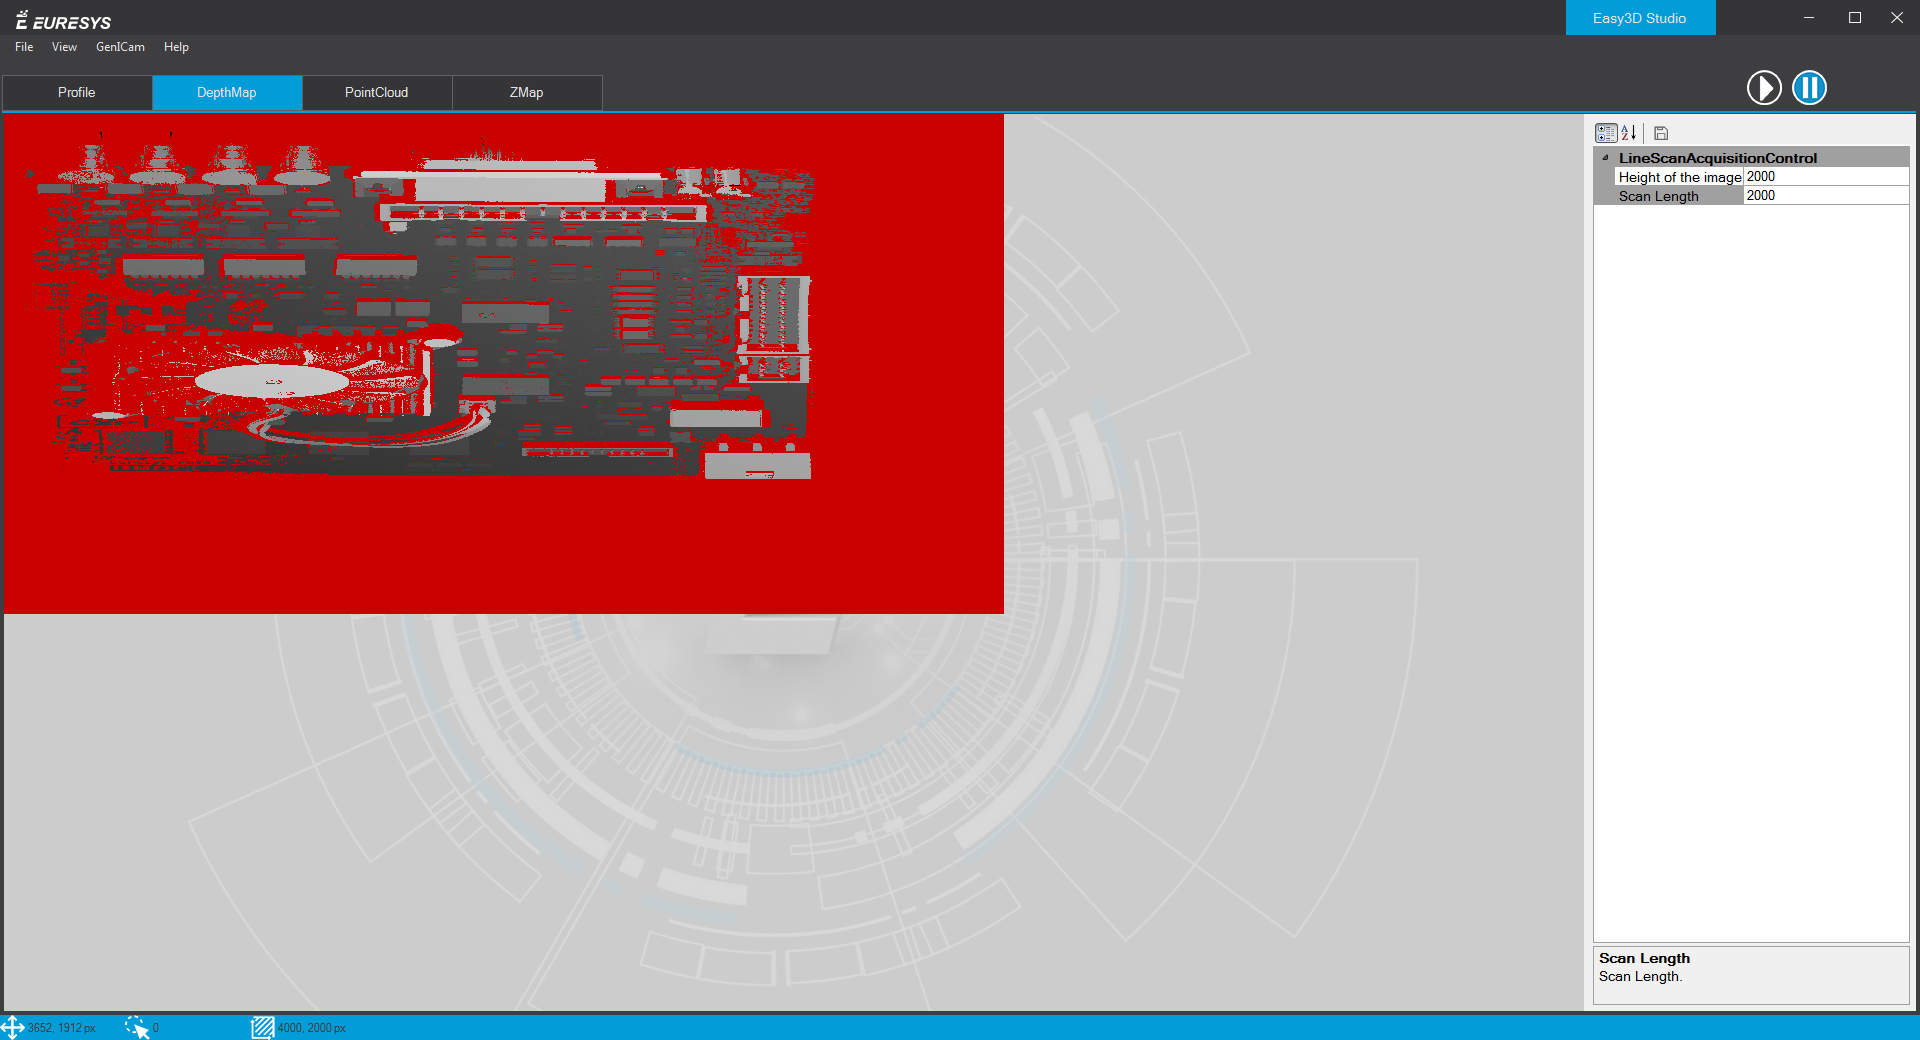
Open the DepthMap tab. |
|
2.
|
Place your object on your system. |
|
3.
|
Click on the  run button to start an acquisition. run button to start an acquisition. |
|
4.
|
Move the object under the camera and wait for the image acquisition to complete. |
|
5.
|
Once the acquisition is displayed, click on the  pause button to stop the acquisition. pause button to stop the acquisition. |
The "raw" image of your object is displayed.
|
6.
|
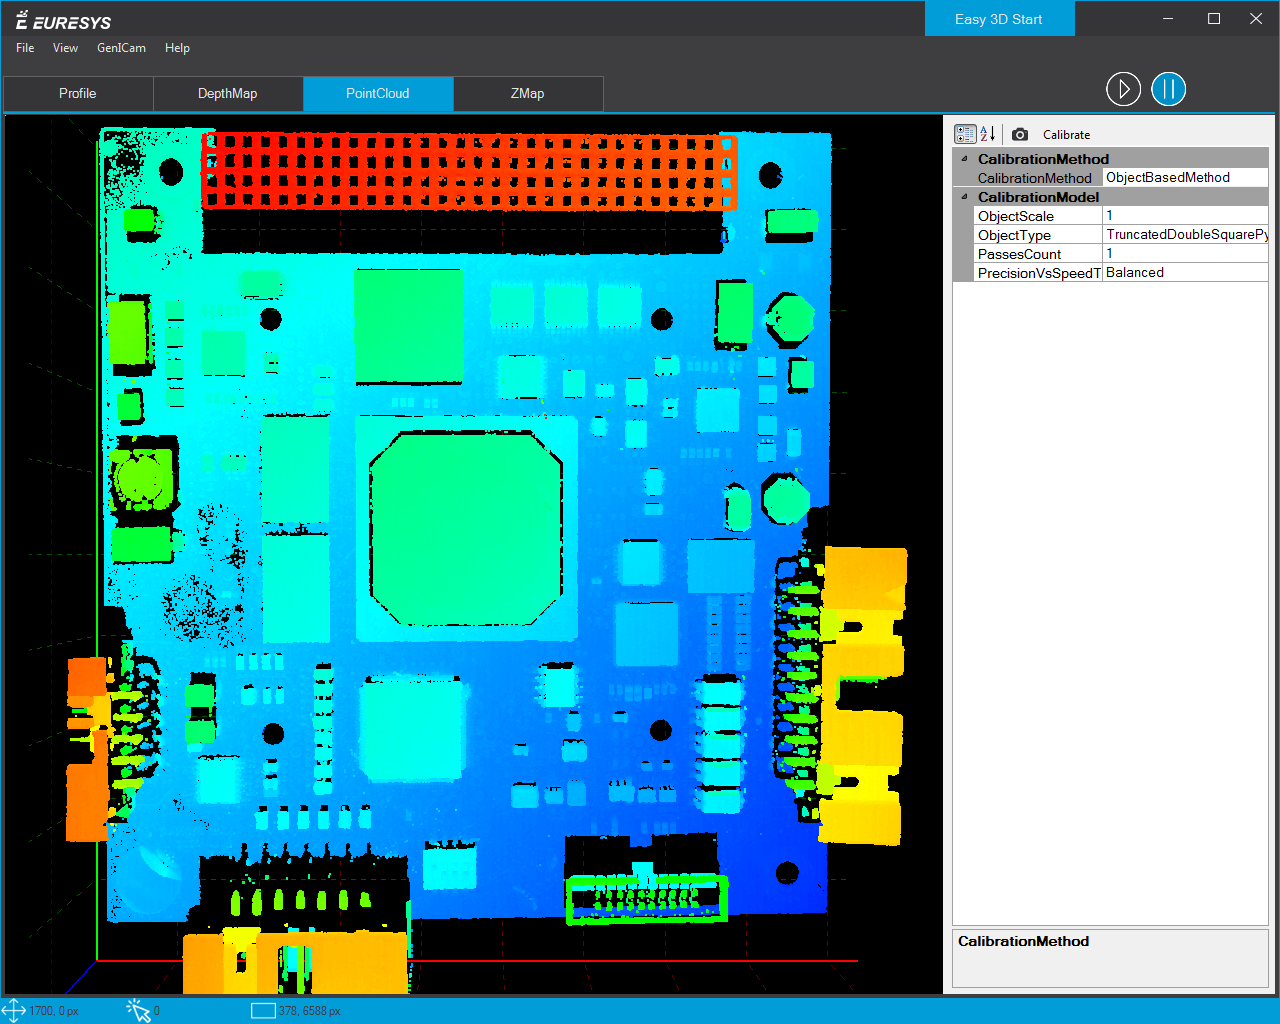
Open the PointCloud tab. |
The calibration correction is applied to the image before display.
|
7.
|
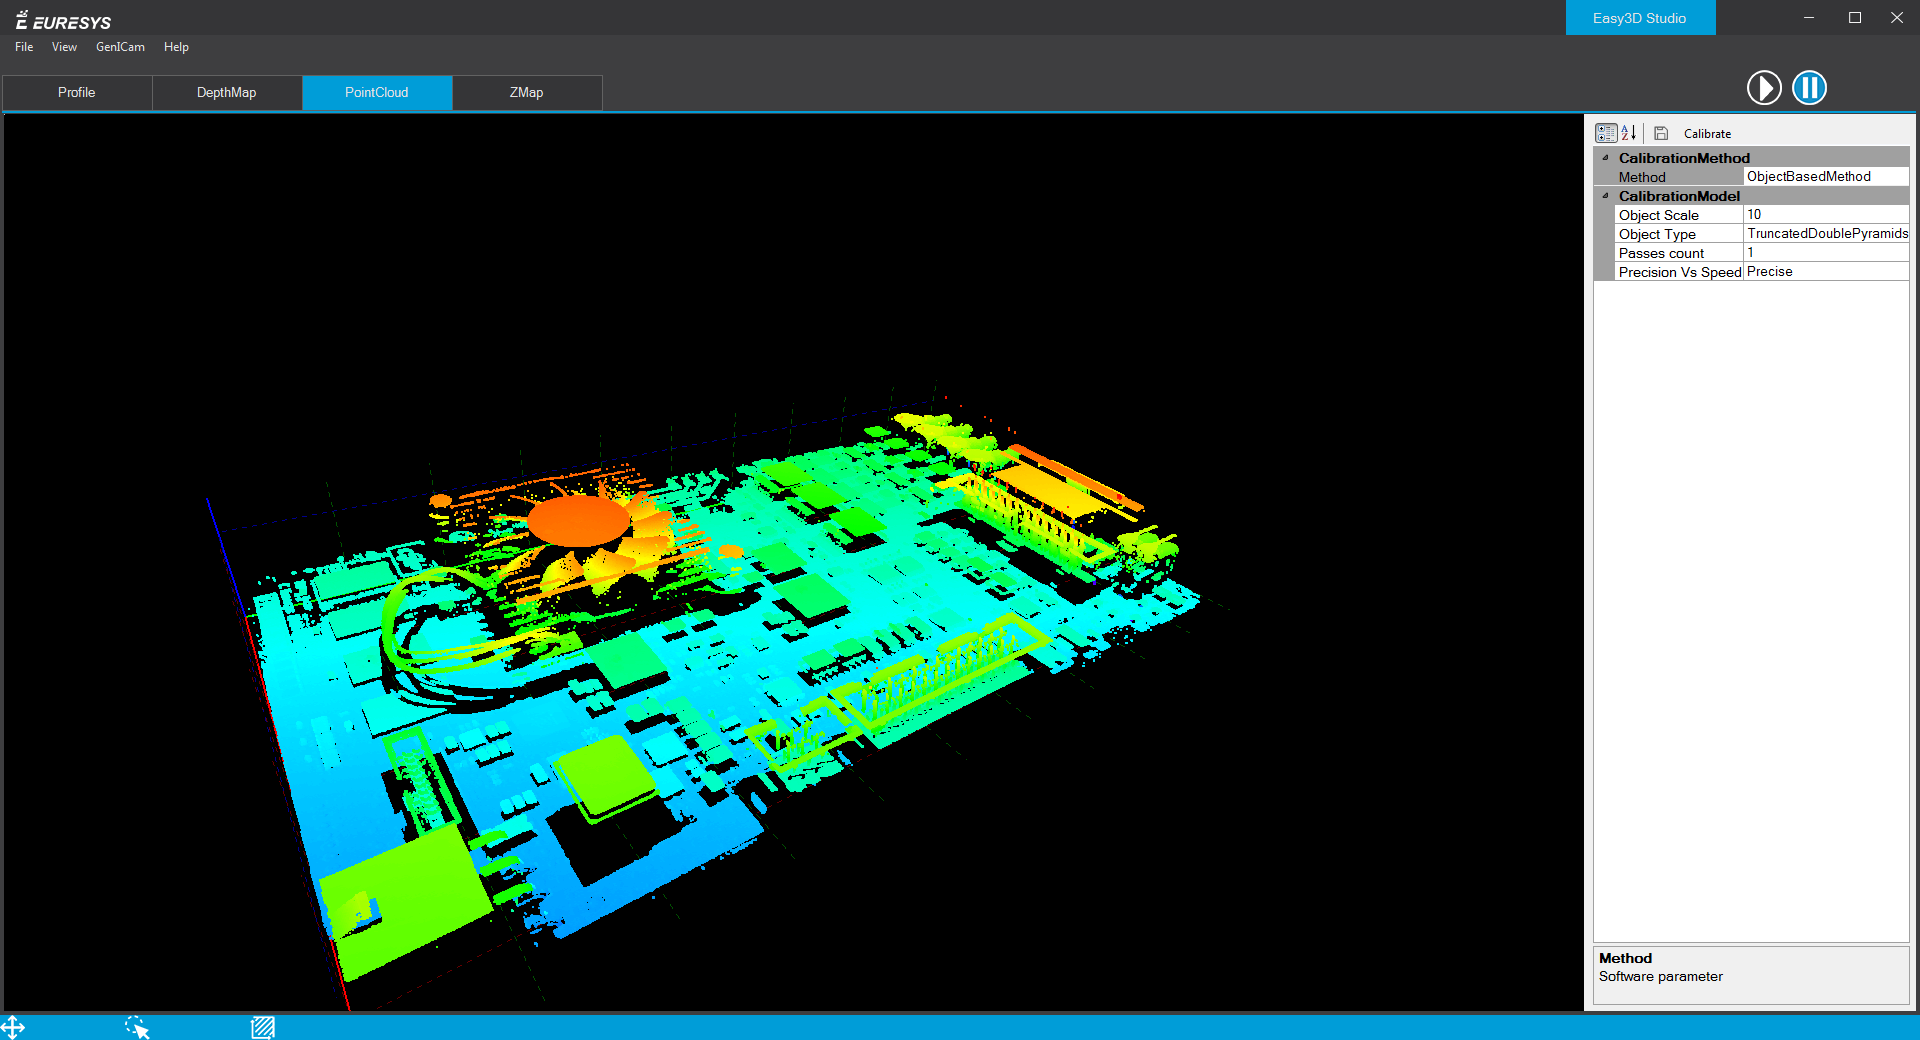
Use the mouse on the image to freely move it around in 3D. |
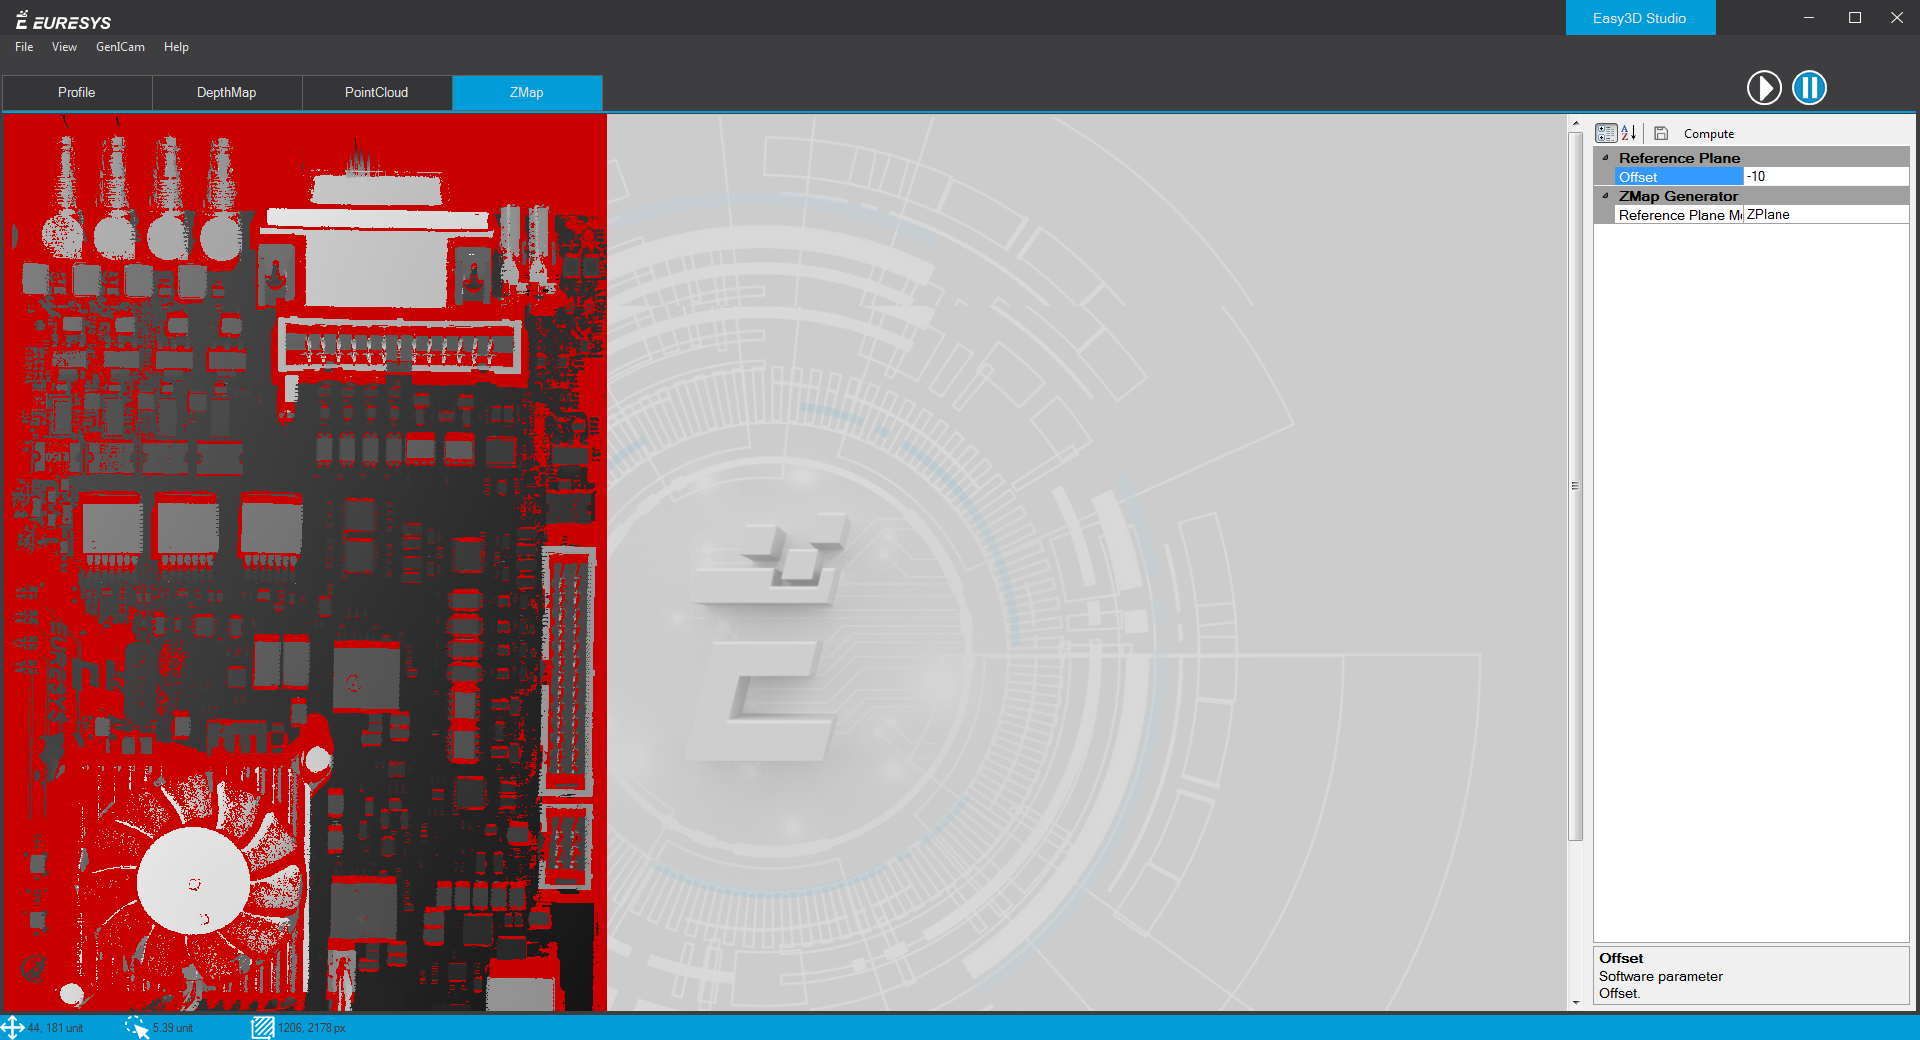
The corresponding ZMap is generated and displayed.
|
9.
|
Configure the ZMap view: |
|
□
|
Select the projection axis of the image: set the ReferencePlaneMode as X, Y or Z-plane. |
|
□
|
Along the selected axis, set the offset of the displayed image. |
|
10.
|
Click on the Compute button to apply your changes and display the new image. |